Play food is a great tool for imaginative play, and I love how it offers open ended possibility. Not to mention it serves a learning purpose as well. Kids can use play food to play grocery store, restaurant, farmers market, house, and more- learning about counting, volume, money, and social skills simply by playing and having fun. While we have plenty of plastic play food there is just something so adorable about DIY Felt food and I love how these DIY Felt Donuts turned out!
DIY Felt Donuts
You will need:
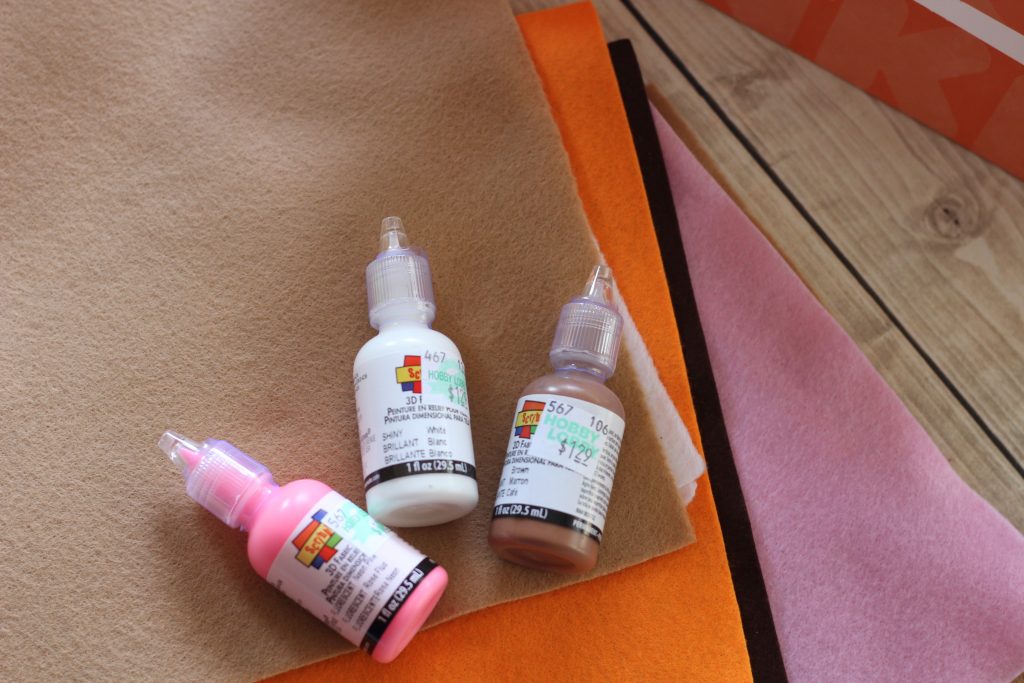
- Felt- Pink, brown, white, orange, tan, white
- Puffy fabric paint
- Cotton stuffing
- Hot glue gun/stick
- scissors
- Something circular in 2 sizes to use as a template

Directions:
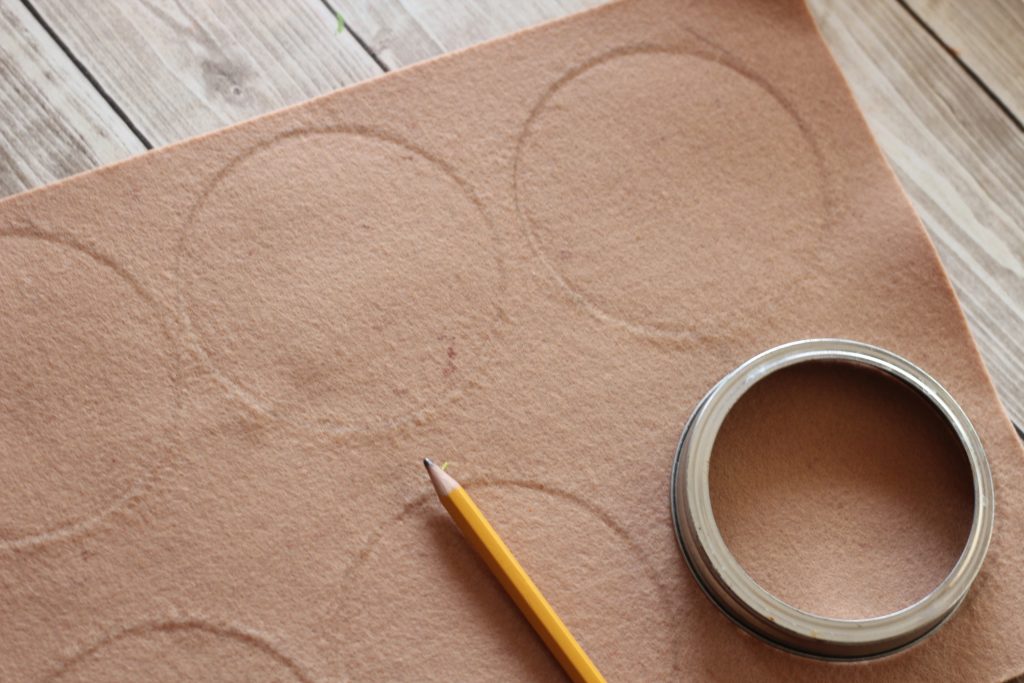
First you want to grab something to use as a template for your donuts and something smaller to make the center hole. I used a wide mouth mason jar ring and a large bottle cap, you could use a small saucer, a toy with a round bottom or anything else to trace.
Trace your donut onto the cream/tan/brown felt lightly with a pencil, then trace the center. ( you will need to trace 2 for each donut you want to make).
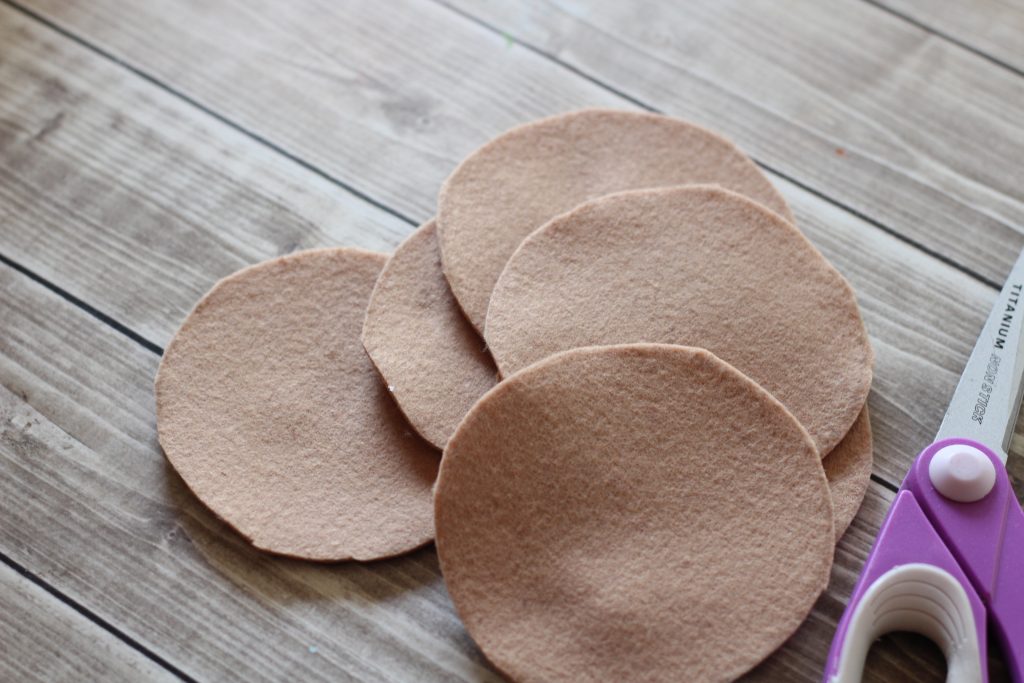
Carefully cut out your donut edge and center.
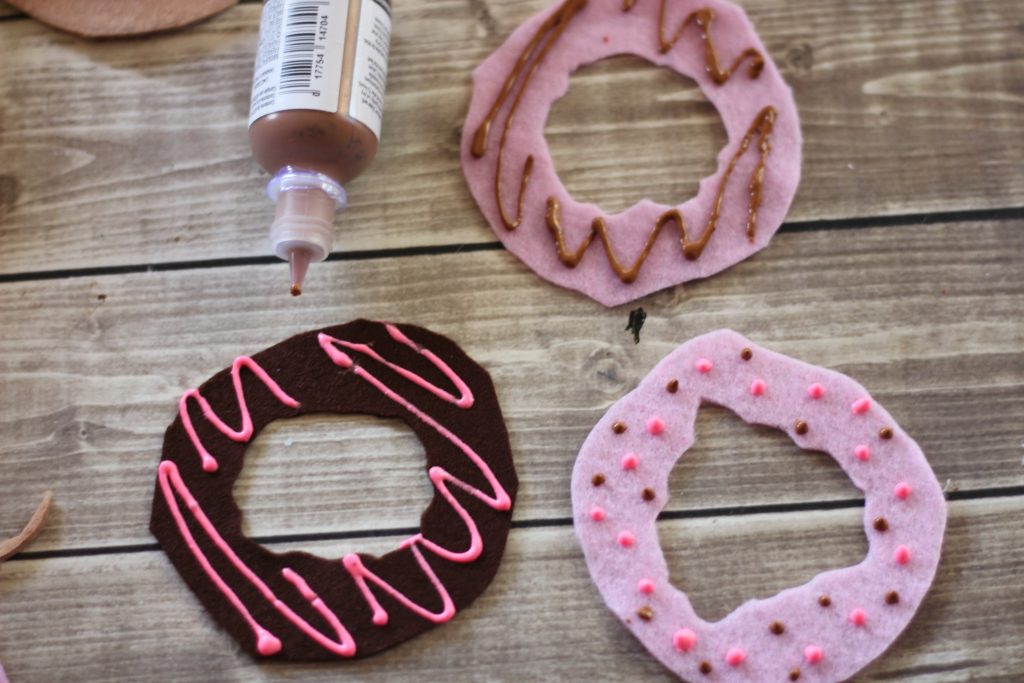
Now is the really fun part, creating your icing and sprinkles…
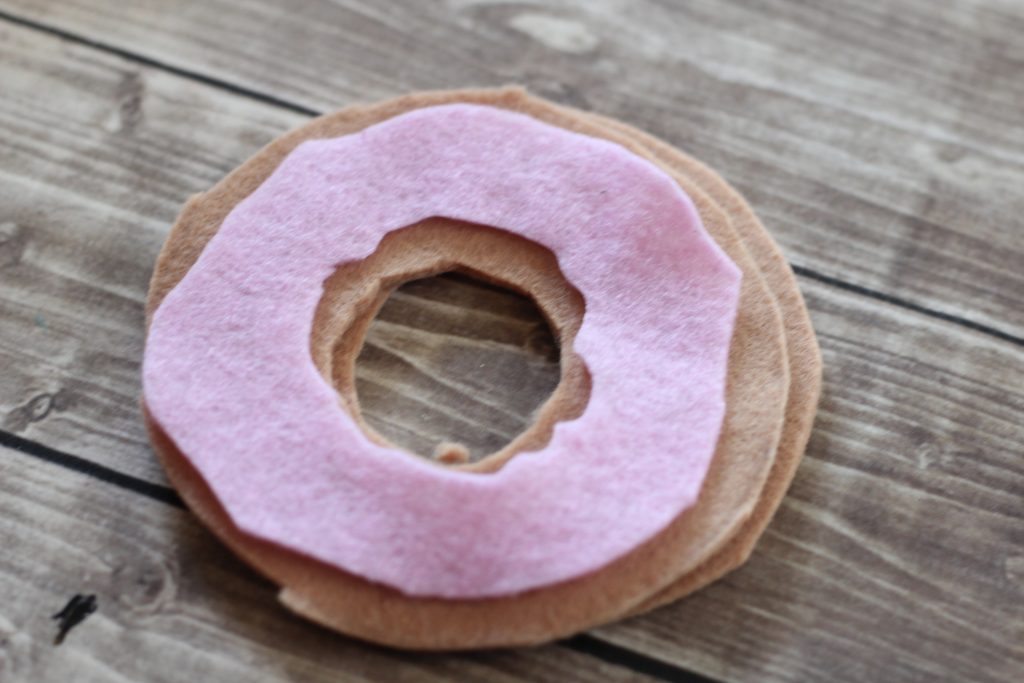
Using your donut as a template cut a circle slightly smaller from your colored felt, give it some random edges so it resembles drippy icing. Add a drizzle of chocolate or sprinkles using puffy fabric paint. Set aside until dry.
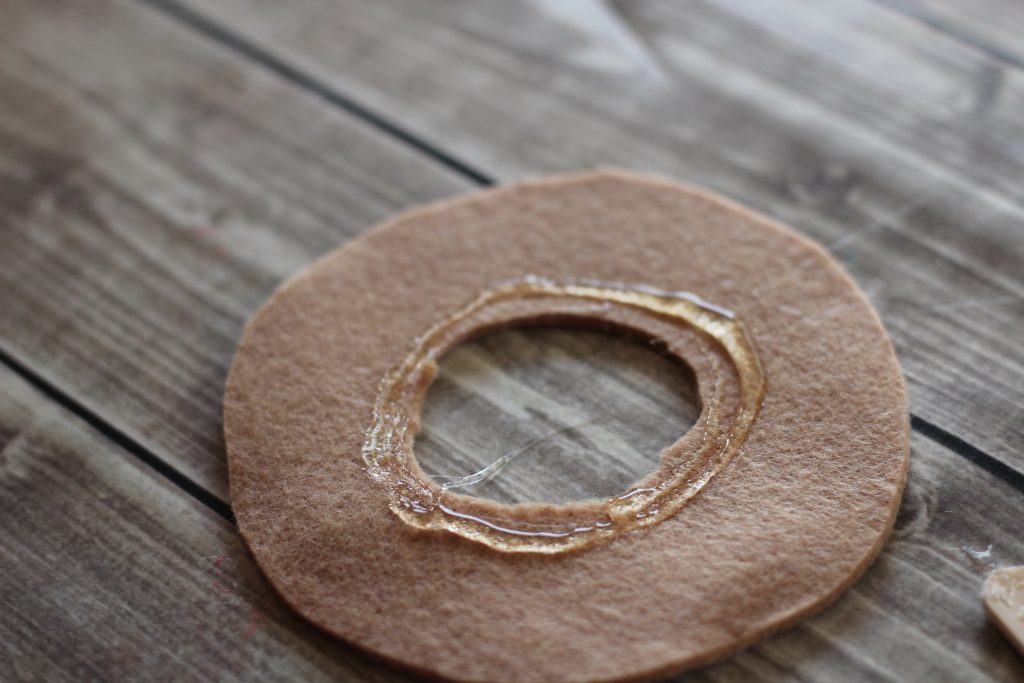
Place the two sides of the donut together, run a ring of hot glue around the center, right at the edge and press together, use the edge of a wooden craft stick to press them down and save your fingertips! Allow glue to cool so that the bond is strong.
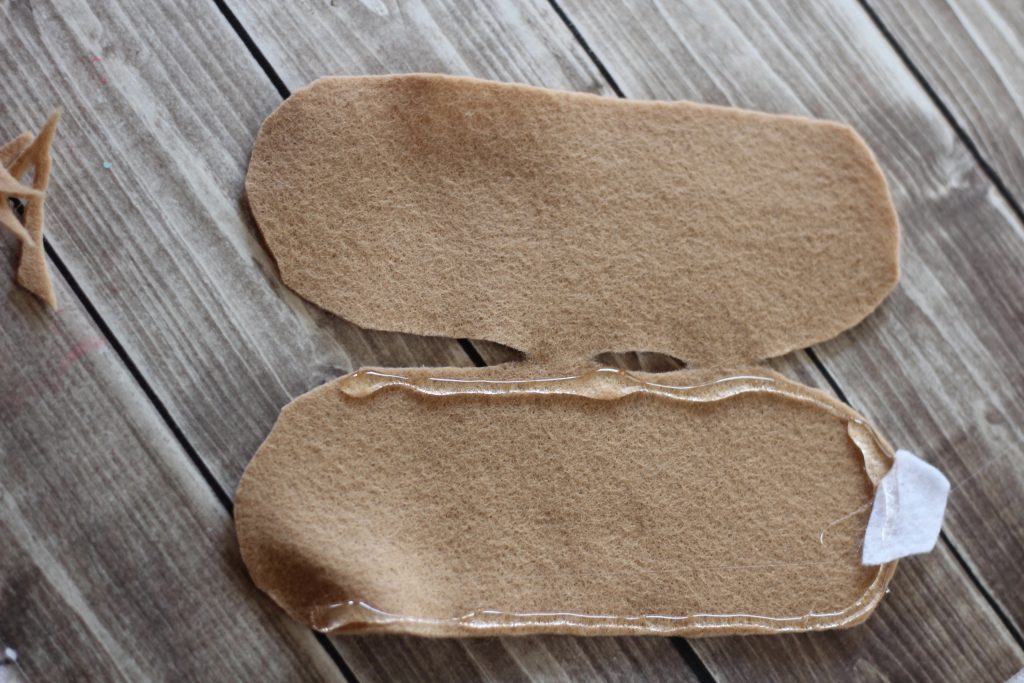
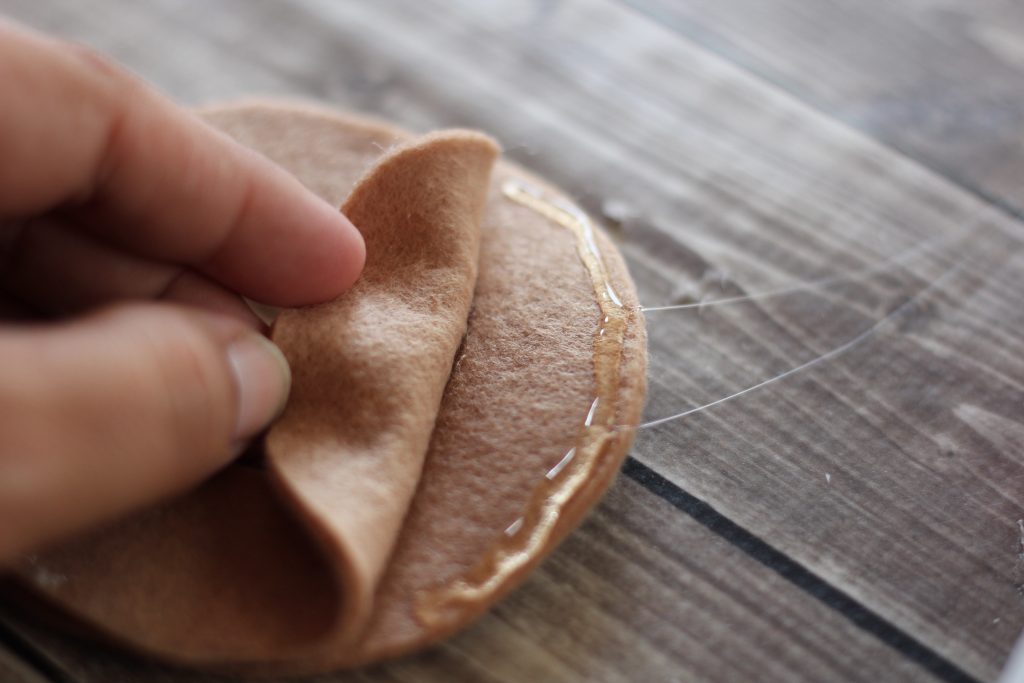
Once the center is hardened run hot glue along the outer edge of the inside of your donuts right near the outer edge and press them together, it is easiest to go a couple inches at a time, stopping when you are ¾ of the way done. Again allow the glue to harden before moving to the next step. Repeat with
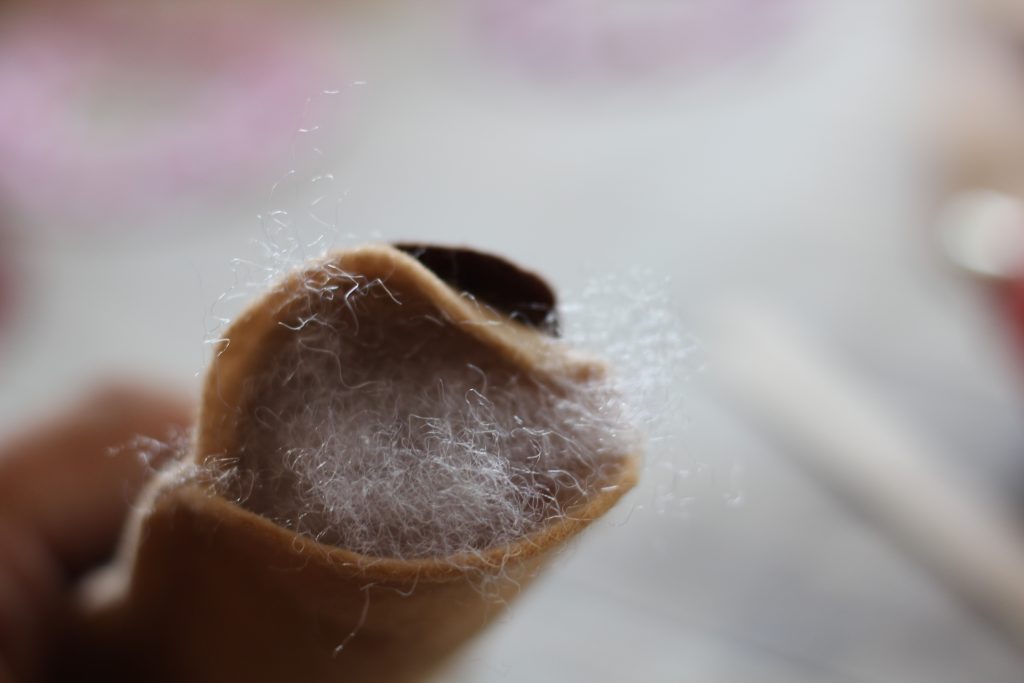
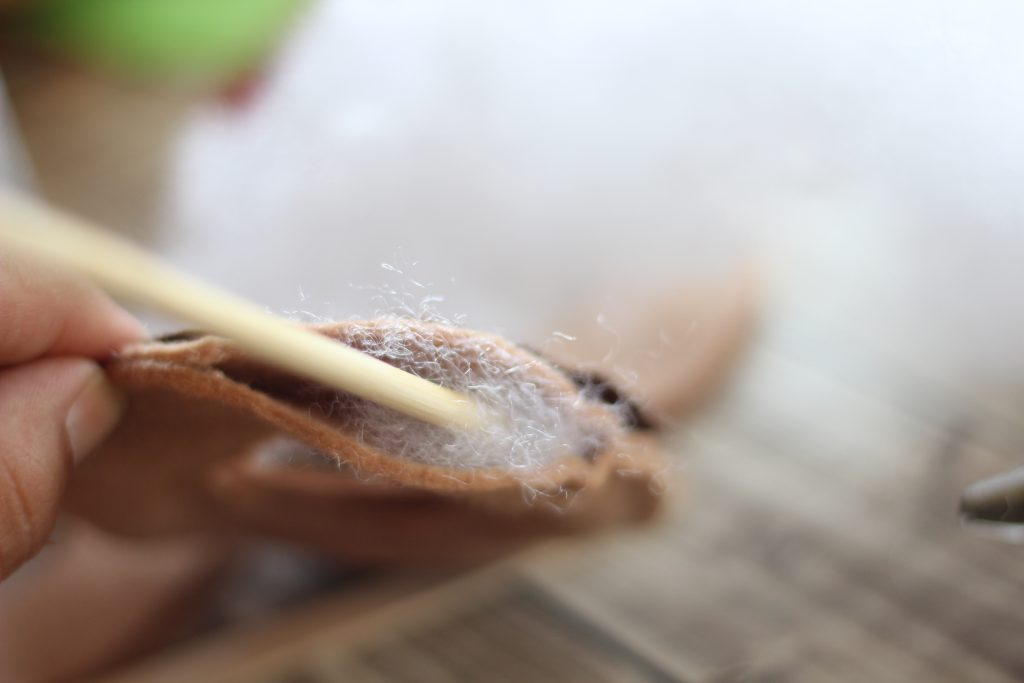
Use a wooden dowel to press a small amount of stuffing around the inside of your donut all the way around, push it back at the opening and finish glueing your edges closed.
Finally, add your icing to the top of your donut with a generous amount of hot glue, paying attention to the edges to keep it from flipping up.
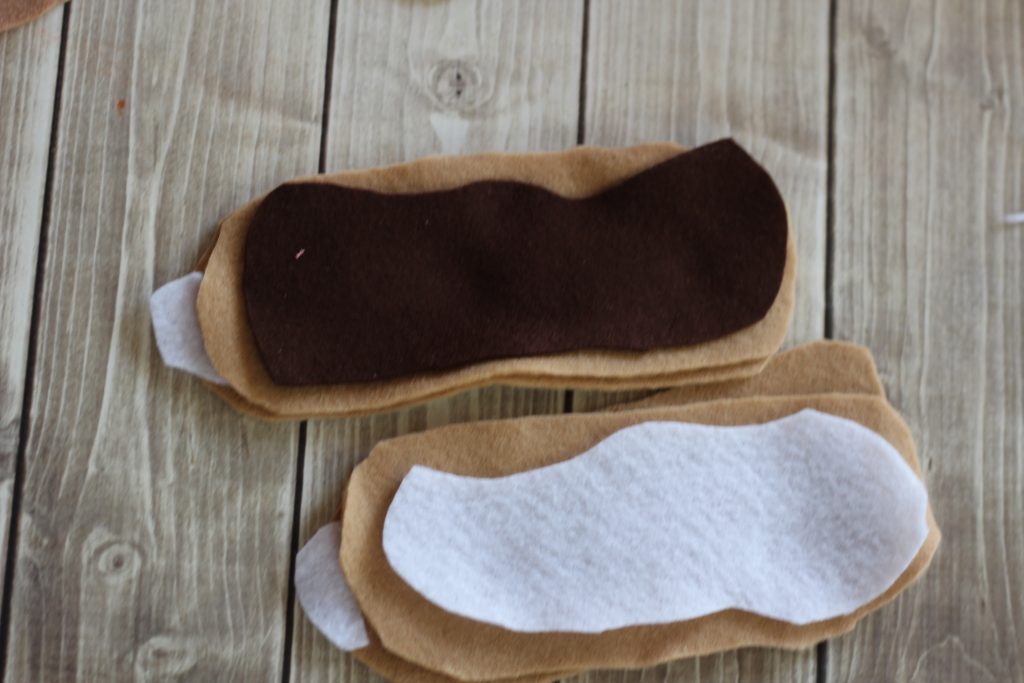
To create the eclairs just free hand a pair of oval shapes (cut 2 at the same time to perfectly match up the edges).
Glue the edges ¾ of the way around and stuff with a bit of filling.
If you want to add a bit of filling coming out of the donut place a random piece of white out of one edge and glue it right in.
Once stuffed, finish the rest of the glued edge. If any edges pop open on your donuts simply add a bit more glue and press in place with a craft stick.
Add a free handed strip of icing to the top of your eclair in your choice of colors, secure it down well with glue.
Trim excess glue and strings away with the scissors to clean up the edges.
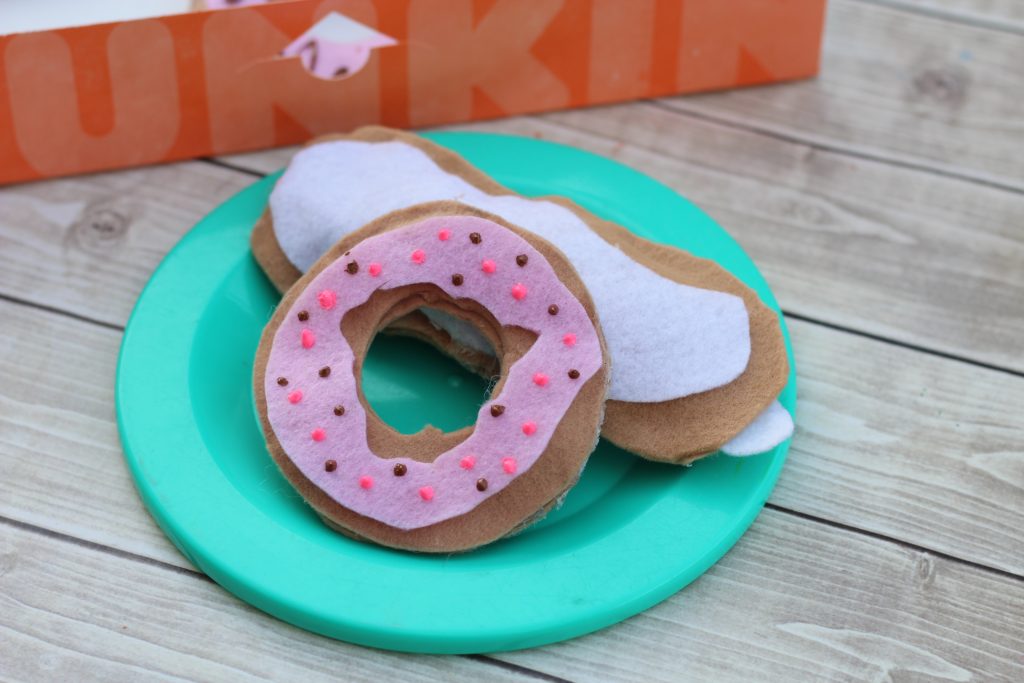
Once you final glue is dry and hardened your donuts are ready for play! Add some plates, coffee cups, and stop by your local donut shop and request a clean box or two to add to the fun!