This is a sponsored post written by me on behalf of O-Cedar and I’m a part of Mom It Forward Influencer Network. I only write about products that I truly love and use in my home. All thoughts and opinions are mine.
Tips for Streak-Free Cleaning
I don’t know about you, but cleaning can be a lot of work when you have four kids. I need my house to be clean the first time, not the second or third time. I wanted to share some tips that I have discovered for streak-free cleaning. Want to know the secret? The EasyWring Spin Mop & Bucket System is what you need.
Easy for craft cleaning
This summer, we’re dealing with a ton of crafts to keep the kids busy. The EasyWring Spin Mop can help you clean up anything from your crafts. The favorite thing it helps me cleanup is the glitter. My daughter cannot get enough of glitter during crafts. Since we made the DIY glittered slime which you’ll see below you can only imagine how much glue and glitter made it on the floor. It’s all part of the fun right?
The stickiness is gone
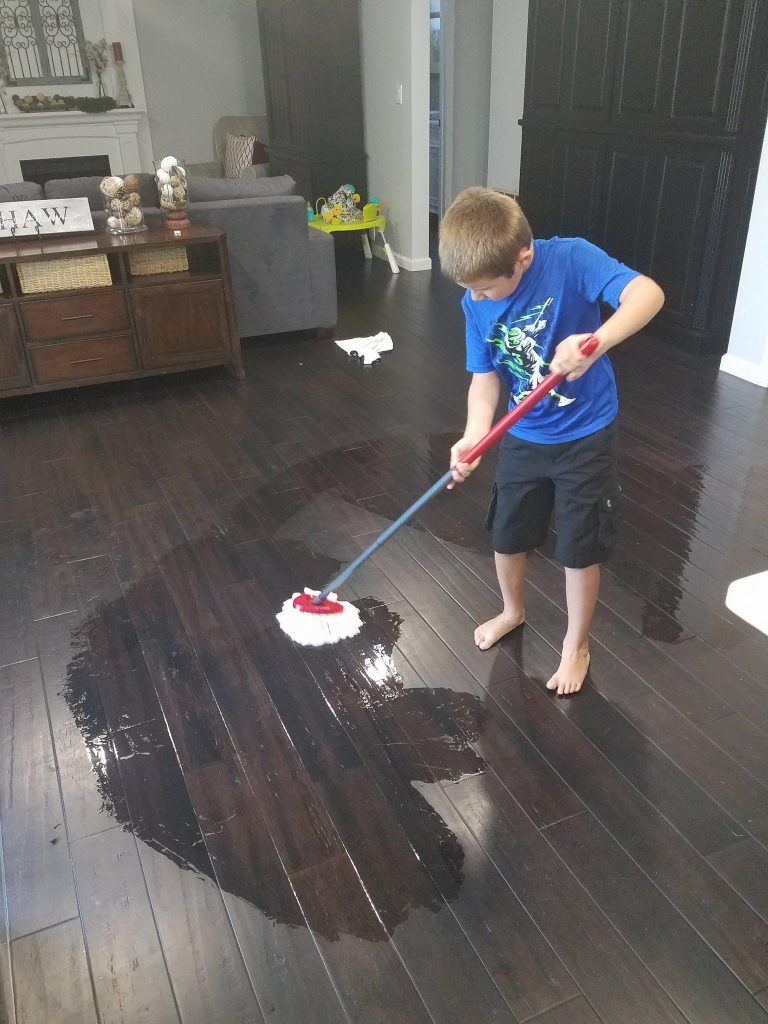
You know one thing I don’t like about doing anything with the kids is the stickiness. Even after breakfast in the morning, my floors can be super sticky. This mop has an exclusive spin bucket design with built-in wringer controls the moisture level of the mop. This makes it perfect for cleaning up any flooring. We have brand new bamboo floors and this mop has worked wonders for me. Plus it’s so easy to use my oldest can mop the floors on his own.
Hands free is the way to be
No one likes touching a mop with their bare hands, which is why I love the EasyWring Spin Mop. It has a hands-free wringer system. Yes, even my kids can help clean and they don’t have to worry about getting gross and dirty. Just simply press the foot pedal and you are in control of the mop. I don’t even have to bed down to wring out the mop.
The O-Cedar EasyWringTM Spin Mop & Bucket System is $39.99 available at retailers nationwide. Need more cleaning products? O-Cedar has a full range of household cleaning products that can help tackle above the floor messes too.
- Facebook: https://www.facebook.com/OcedarClean
- Twitter: https://twitter.com/ocedarclean
- Instagram: https://www.instagram.com/ocedarclean
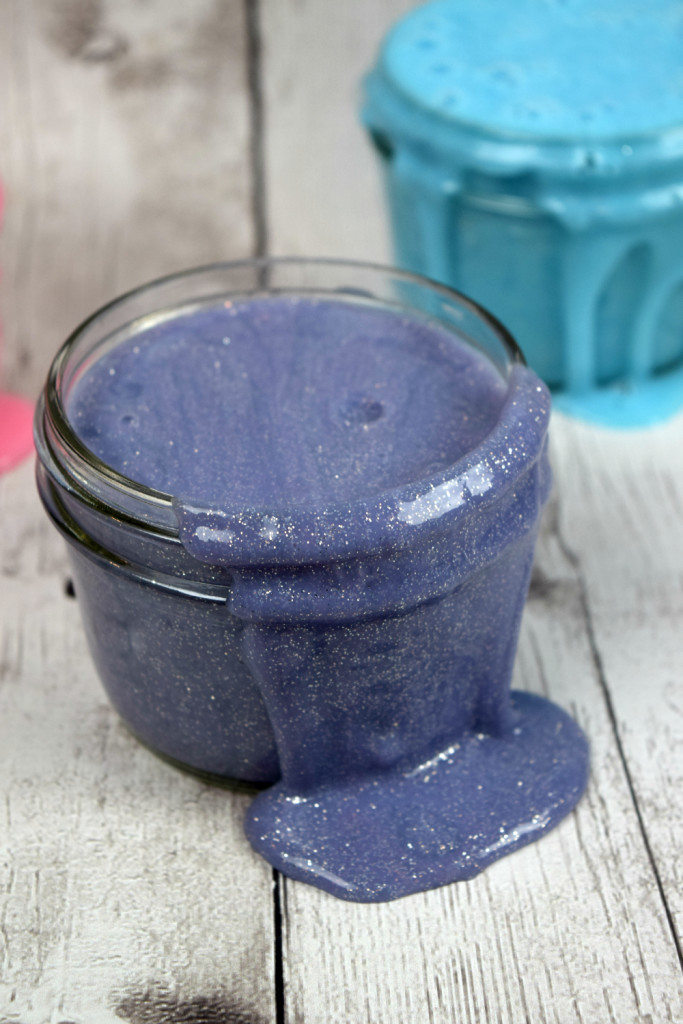
It’s Summer time and the kids have been out of school for a little over a month now. I love to find the products we have around the home and make something fun that allows the kids to get a little hand on experience. Tonight we decided to make some awesome DIY Glittered Slime, and it was a hit.

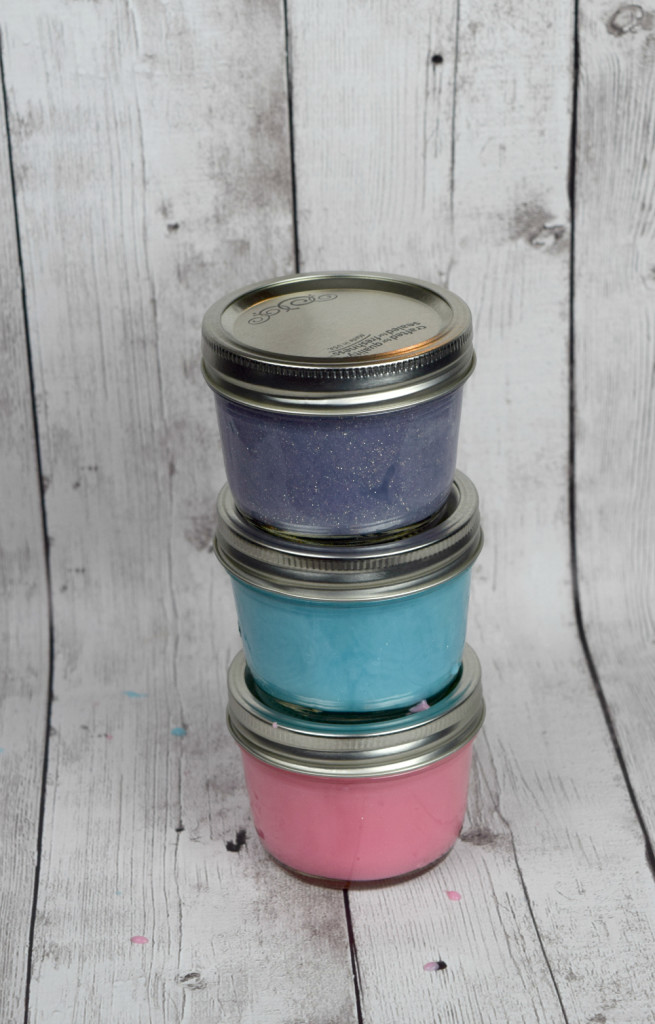
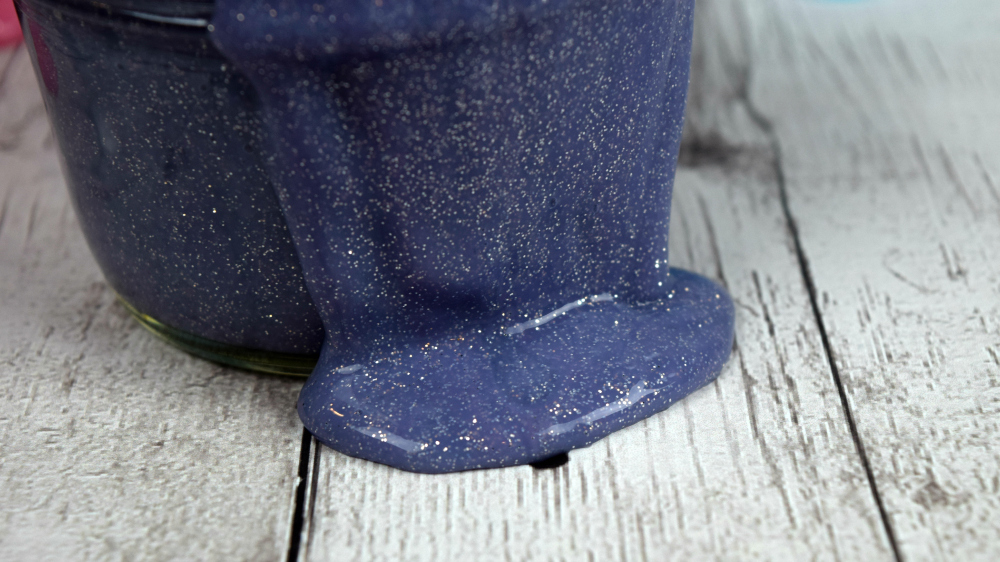
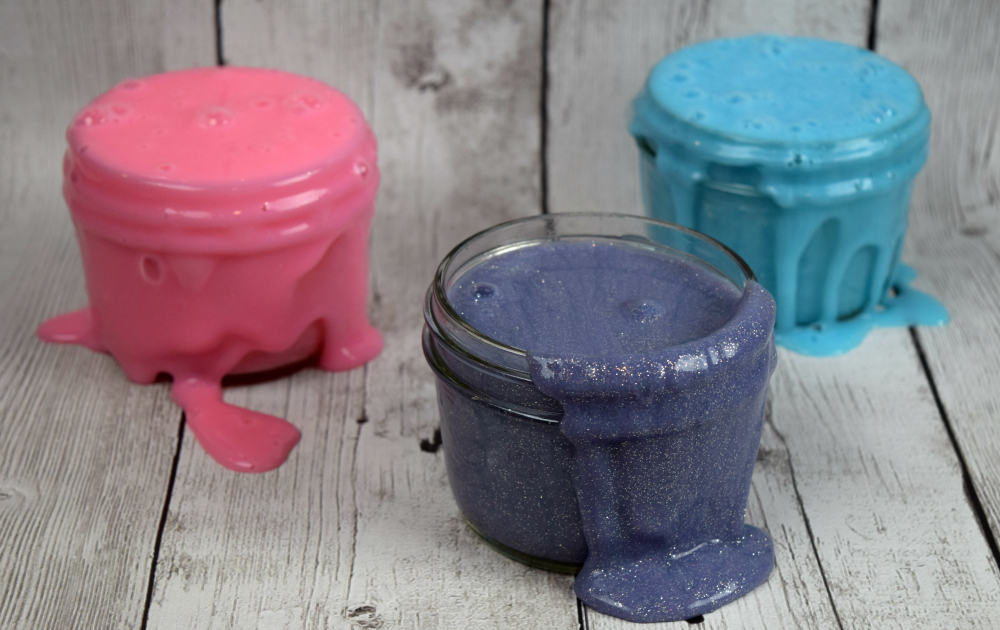
My boys are 3 and 4 and they love anything sticky, ooey and gooey. Let’s face it they’re boys and the grosser the feeling the better they love it. With just a few simple ingredients you have lying around the home you can whip up your very own batch of DIY Glitter Slime. Best of all after you make it and play with it, store it in an airtight container and use it over and over again for hours of endless fun. I decided to make some purple glittered slime and my boys made red and blue. This is one of those fun projects that allows you to instruct your children but let them do all the work themselves. Let’s get started.
Supplies:
- 2 Tsp Borax (Purchase here)
- 1 1/2 Cups Water
- 1 Bottle of Elmer’s Glue (Clear or White)
- Small Mixing Bowl
- Medium Mixing Bowl
- Spoon
- 1/2 pint mason jars for storing
- Food Coloring
- Glitter
Directions:
Grab your small mixing bowl and pour in 1 cup of water and 2 tsp of borax powder. Stir the ingredients together until well blended. Set your bowl aside. In your medium sized bowl pour in your entire bottle of elmer’s glue and pour in 1/2 cup of water. Stir until well blended. Once the contents are stirred together nicely add in drops of food coloring. Add 4 drops for a lighter shade and add 8 drops in for a darker shade. (To get my purple color I used 6 drops of blue and 6 drops of red). Mix the products together. Pour in a nice amount of glitter and still it in. Now pour in the contents of your small bowl and wait for the products to solidify. Now it’s time to get slimy. Grab both your hands and start squishing the slime together to make it more solid. Once it feels like it’s solid pour out the excess water. The slime is now ready to play with. Take it out of the bowl and lay it on a table, plate, placemat or anything else. Get creative make molds of your hands, forks or anything else. Once you’re done playing with the slime store in a mason jar or ziploc baggie to keep fresh.