
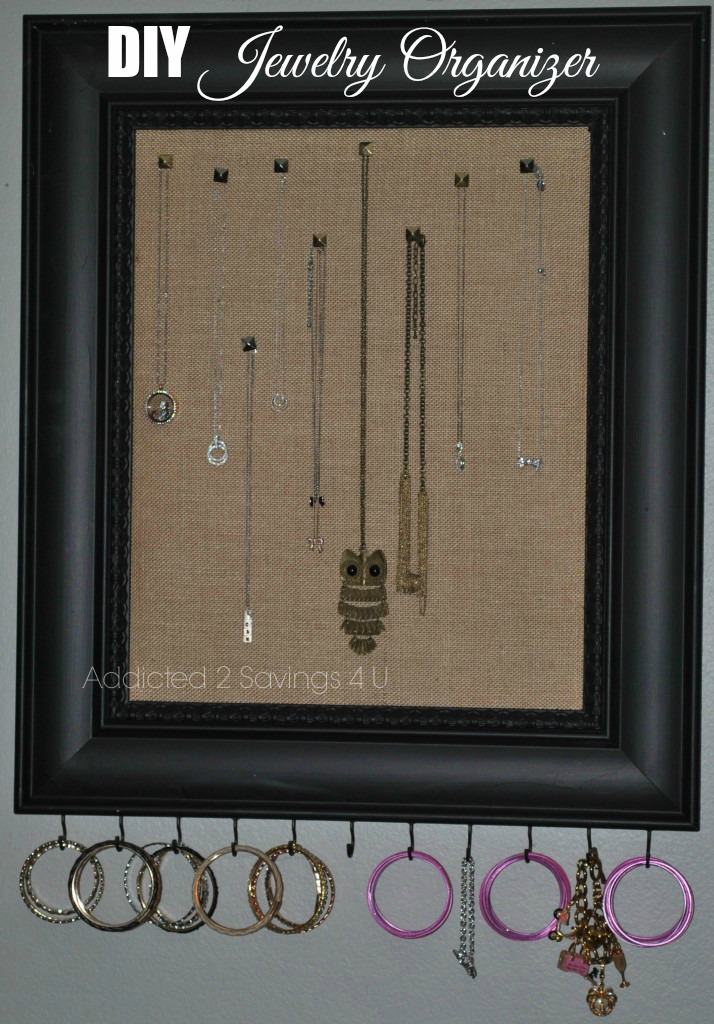
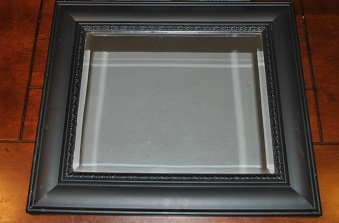
You know the old saying, “One person’s trash is another person’s treasure”, right? Well my Mom was getting rid of this beautiful black mirror and although I didn’t need another mirror in my home I knew I would find a DIY project to turn it into something useful. Well this big beautiful mirror is now a big beautiful burlap covered necklace holder which is a show stopped in my master bedroom. I love that not only was this project easy to do but it was very affordable and a great way to upcycle those bigger mirrors or picture frames you have lying around your home. This DIY Necklace holder is a must have in every bedroom and would you believe I found a replica of this creation at Hobby Lobby and it retailed for $79? Now that’s just ridiculous. If you’re loving this DIY project I hope you’ll give it a go with some of your mirrors lying around and I’d love to see the end result. Now onto the fun.
Supplies needed:
- Picture Frame or Mirror (We used a 20″ x 24″ one)
- Burlap
- Corkboard
- Hooks
- Push Pins (I used square/diamond looking ones from Nate Berkus found at Target)
Directions:
Since I was using a mirror I first ripped off the paper packing in the back of the mirror.
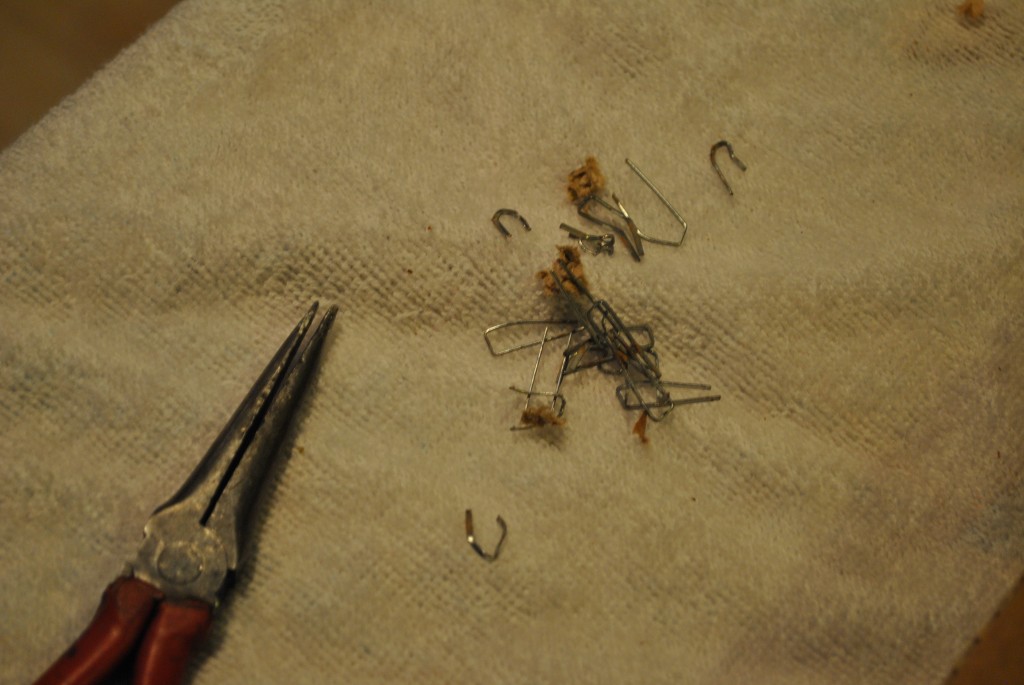
After the paper was removed I removed the cardboard backing and all of the staples.
The mirror will just slip right out if you push it out from the front.
Use the cardboard backing as a guide for cutting your cork board and burlap to ensure a proper fit.
After materials have been cut we hot glued the Corkboard to the cardboard backing than proceeeded to wrap the burlap over and hot glued that as well.
We placed the newly wrapped carfboard backing back inside the mirror and placed an oversized cardboard backing on the back and secured with a staple gun.
I’m using the burlap area for hanging necklaces and than thought having hooks on the bottom would be perfect for bracelets.
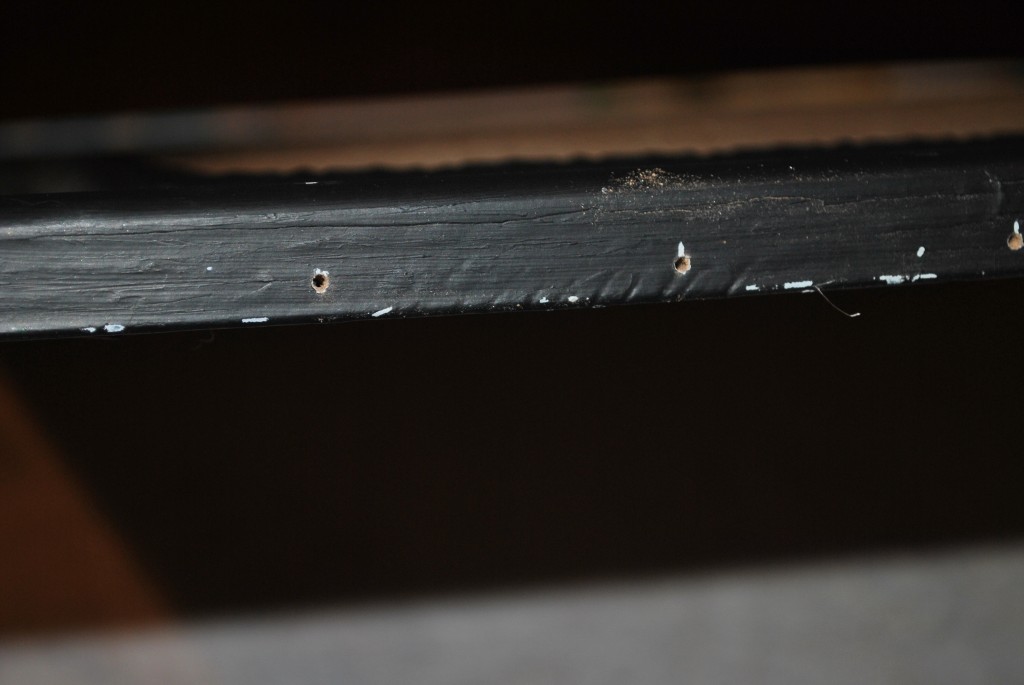
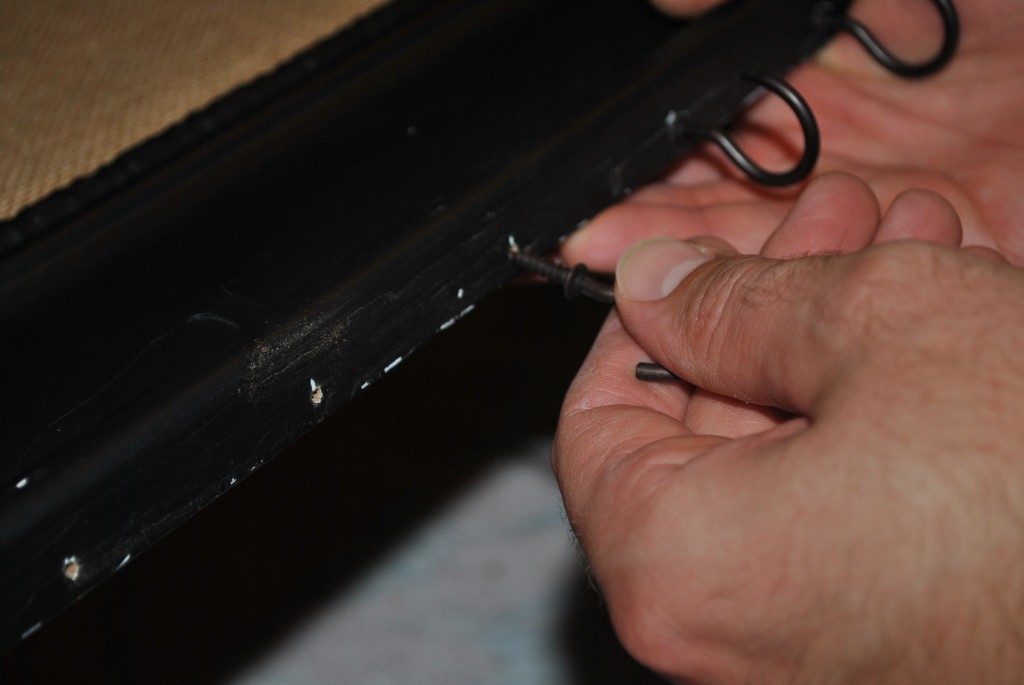
We attached 11 hooks in the bottom of the mirror spacing them accordingly.
To ensure a proper fit for the hooks we drilled a 3/32″ hole and than twisted them to properly place them.
That’s it. It’s a super easy project that was very cost affordable and will look adorable in any room.
Process in photos:


I hope you enjoyed this project and will definitely continue to follow more of my DIY projects on the blog.
Leave a Reply